I have had several people at lots of different schools talking to me about boys and literacy and how they are not doing so well according to the benchmarks they are supposed to meet. When I am in classrooms and see the types of activities that the students are doing, most of the time they are boring, prescriptive tasks that have been given to students for decades to do.
There are lots of great resources out there that have great activities that you can do with children. Some of my favourites come from
Sheena Cameron who is incidentally publishing a new book on Writing this year. But we all know 'technology engages boys'. Give them a device, use your imagination and think of tasks that will grab them.
Examples I have seen recentlyTask:
read through your story with your buddy and find the long 'a' vowel sounds
Observation: Let's put the books on our head and balance, pick up debris from the ground and flick it, annoy somebody close by, giggle over something funny one of them said (sound familiar?)
So why are they doing that? They are bored, it is not engaging, they can't see the worth of it.
Suggested Solution: give them a device (iPod Touch, iPad, laptop with camera) Task is now to record yourself saying the words, one person can take notes and write down the words with the long vowel sound, the other person can be saying the words. Yes, there will be laughter, and pulling of faces, but give them an expectation and a time limit 'I want you to find 20 long 'a' vowel words in 5 minutes, set your timers now.
Predicted Outcome: they will have had fun, they will be engaged in the task, they will be reading, they will discover their mouth shape changes when they say the words
Task:read your story with your buddy
Observation:
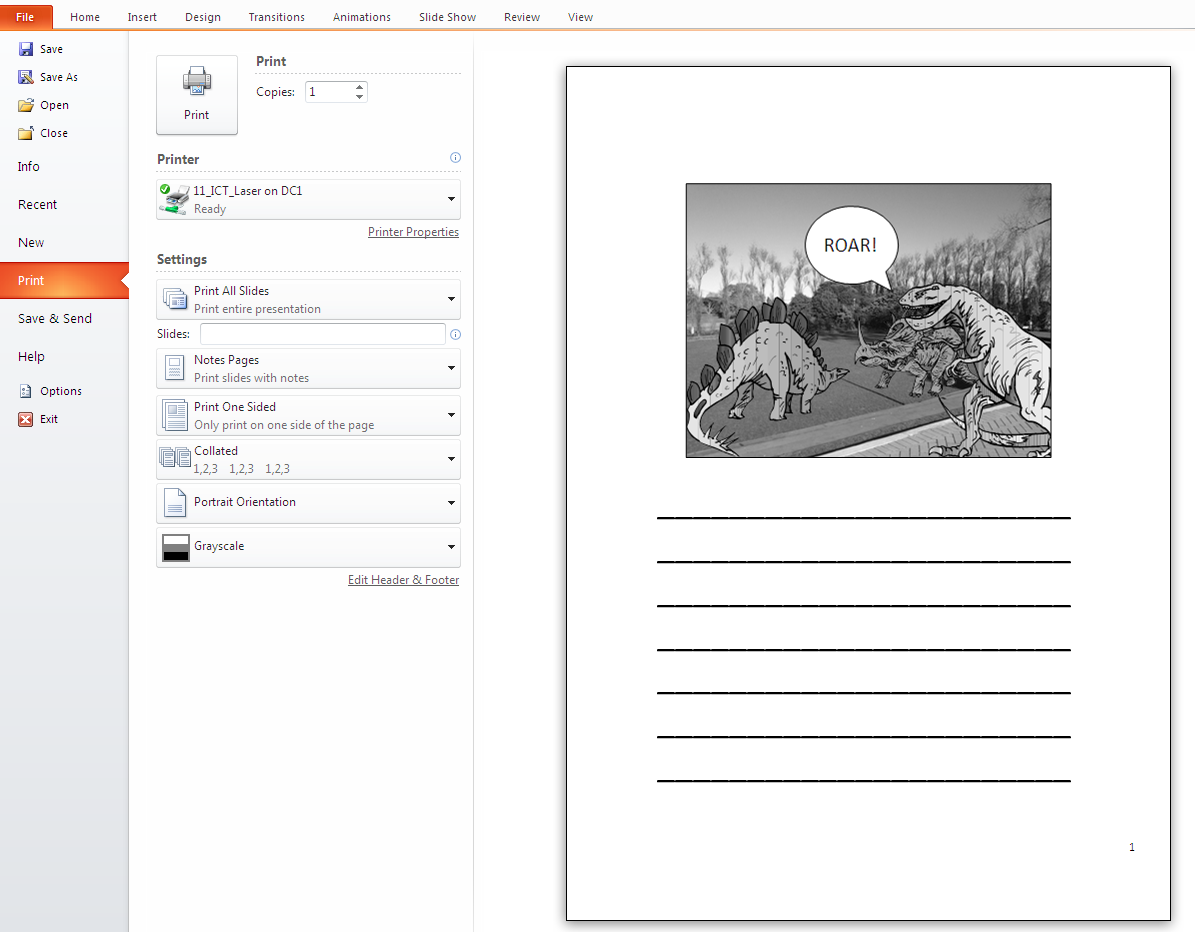
exactly the same as the observation before. When I have noticed boys to be engaged in buddy reading is when they are looking at high interest topic books such as space, dinosaurs and cars and trucks.
Suggested SolutionFor buddy reading choose high interest topic books. Let them read the interactive books on the iPads, iPod touches, let them read some of the
books online on the computer together.
Let the students use Sock Puppets to record themselves taking turns in reading. Apart from the laughs they will get from hearing the squeaky voice, they will hear if they are reading fluently.
Predicted Outcome:they will talk about what they are reading, they will be engaged in their learning. They will be reading. They can share back to the group/class.
 Task:
Task:answer comprehension questions in their books
Observation:5 minutes have gone by and they have written the date, and the number 1. They have discussed what pen or pencil they will use, they will have searched everywhere for a ruler...
Suggested SolutionUse a simple Graphic Organiser like
Expanded Question or the
Notability app where they can take a photo of the questions and type in their answers
Predicted OutcomeStudents will stay on task and want to get started on their work
TaskPrinted Worksheets
ObservationSome students like worksheets. A lot don't really care for them. I see grimaces on faces, then there becomes the long hunt for the missing pen/pencil that was there 30 seconds ago. And while we are looking for the pencil/pen we happen to drop/misplace the worksheet and will need to search or berate the person next to us for having/hiding our worksheet. Once they get to their table/desk 5 minutes later the teacher is berating them for not starting. Then starts the slide into the body slump as they take another 5 minutes to painstakingly write their name...sound familiar? Why are they doing that? Because the task is boring!
Suggested SolutionInteractive Worksheets in
Google Docs/Word/Pages/PowerPoint/Keynote/Google Presentation. Have some comprehension questions, but some might link to a website where they have to search for something or read something related to their instructional text. Add a Graphic Organiser/s that may scaffold them in their answers. In PowerPoint/Keynote or Google presentation insert a YouTube movie with Questions for them to answer at different points. In Google Docs insert a drawing block where they can draw the answer to the question or they can use a Drawing app on their iPad and then insert the drawing into the Interactive Worksheet. Ask a question that allows them to photograph the answer. Mix it up a bit and have Word Study questions, Dictionary meanings etc where students can use dictionaries/thesaurus on devices, online, printed books.
This all might sound like a lot of work for the teacher but a worksheet in this format could become a template that could be used over and over again. And if you start this with your top group you will have the 'Interactive Worksheet' for the next reading group when they get to that level.
When planning your activities think how you could do the same thing creatively using technologies that will grab that reluctant child and engage him..