I was working with a teacher today who said he was going to make comics in Word.
To make it look more like a comic, upload your photos to Befunky and cartoonise them. Click on Get Started, click on Cartooniser, click on Browse files, select a photo
 , click Open, rotate or crop if necessary, click OK and your photo will appear. Click Save, name your photo and click Save to My desktop, click OK you may be asked to Save again. You may want to crop the white border of the photo
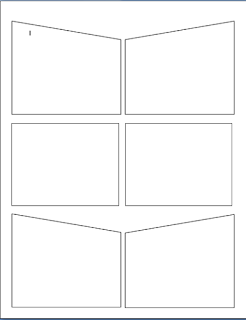
I had previously already showed him how to insert Autoshapes onto a page
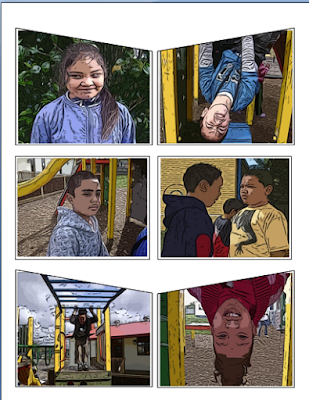
 , I usually insert six to a page. Then you click on a shape, go to the Fill can, choose Fill Effects, click on th
 e Picture Tab, click on Choose Picture, select a photo and click Insert.
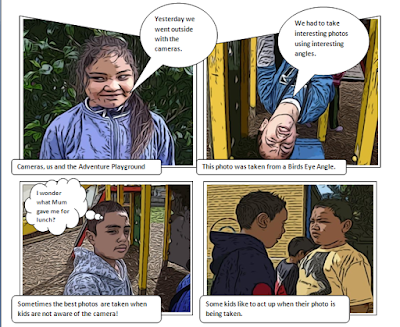
Once the pictures are inserted then you need to add the speech bubbles and narrative text boxes. This is a wonderful way of publishing children's writing.
You can also do the same thing in PowerPoint but put one photo on each slide and it becomes a Comic Slideshow.
ICT Kids
View more presentations from Jacqui Sharp.
No comments:
Post a Comment