 Find a photograph background and then insert into a blank PowerPoint page. In this example one of my schools are studying dinosaurs and paleontology, so I suggested taking photos of the field or playground.
Then go to Insert - Clipart and select clipart that has white backgrounds. If you have white background appear on your graphic you will have to make it transparent by clicking on 'Remove Background' in the Format menu.

Click on the Home button and choose speech bubbles from the Insert Shapes menu.

To add writing lines click where it says 'Click to Add Notes' which is just below your main screen. Hold down your Shift key and minus - key on the keyboard. This will make lines. Once you have made several lines, press Ctrl A (Command A for Mac) to highlight all of the lines. Change the font size to about 36. Don't worry if you see no change yet.
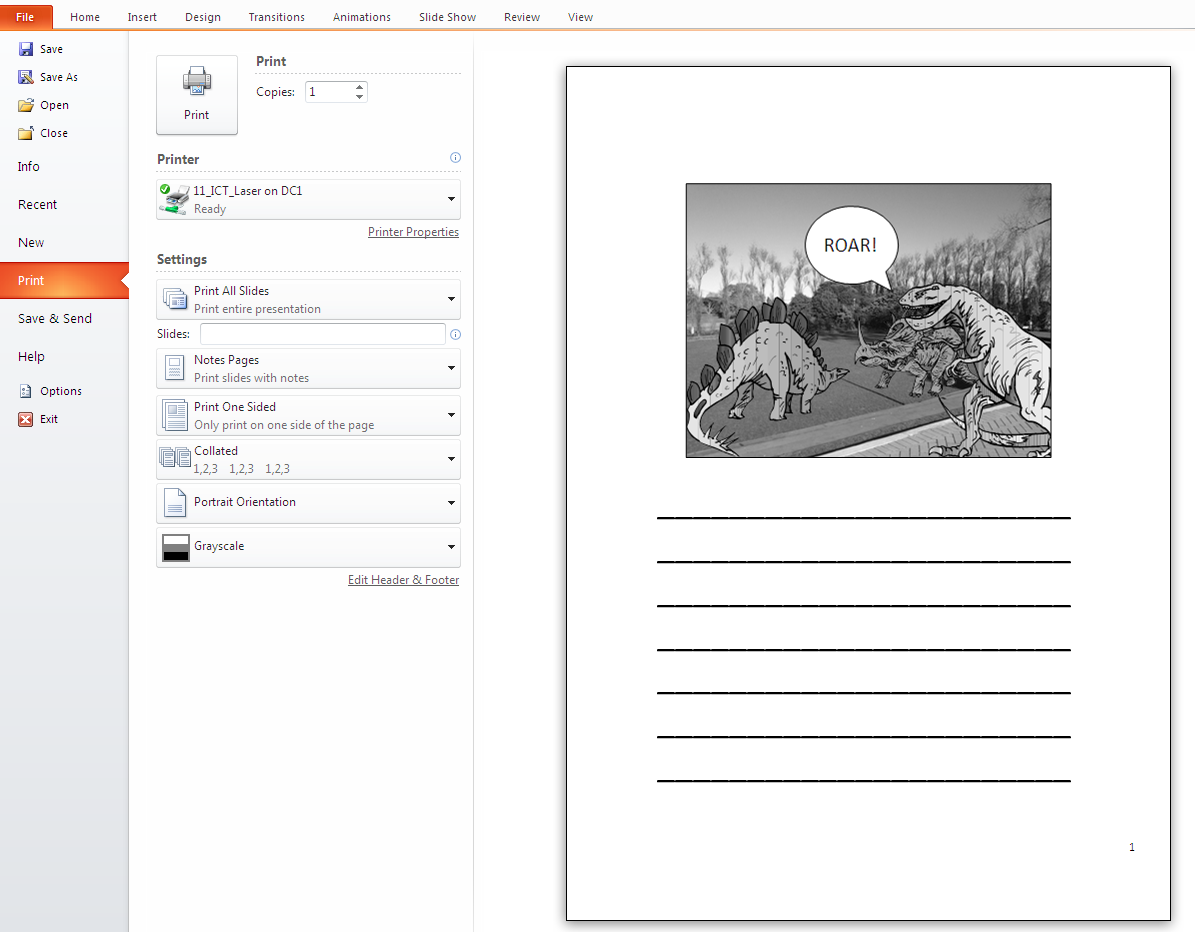
Go to File - Print
Click on Full Page slides and change to Notes.
Check to see if your lines are the right width.
Print.
Students can now use this as a motivator for their drafting and editing. You could print out another copy in colour and use that as the final publishing.
For younger students you could make a PowerPoint template with the photo background embedded in the Master page. Go to View - Master - Slide Master, insert a background photo in the usual way and delete the slide master frames that show up, click on Close or Close Master.
Then save as a template by going to File - Save As, select PowerPoint Template under the Format dropdown menu, name it and click Save.
No comments:
Post a Comment